For a budding ski or snowboard instructor, keeping your skis and snowboards at a great standard is key to success during both our instructor courses and your future careers in the Snowsports industry. Whilst riding your equipment day in, day out you’ll find that you progress much quicker and easier on a consistently tuned and waxed set of skis or board.
Despite what you may think, keeping your equipment in tip top shape is not actually that hard! Once you’ve had a go at it yourself, you’ll be a professional ski or board tuner in no time! Especially if you’re maintaining your gear for an entire season.
So, what do you need?
There are a few things included in a good tuning kit that will happily see you through a season. You can pick these kits up online or in your local ski/board shop. The essentials that you should make sure they include are:
- Wax – This can vary depending on where in the world you are skiing. It’s best to find out what the average temperature is of the place your will be riding for the season and get wax best suited for that. There are also universal waxes if you’re not feeling as adventurous.
- Waxing Iron – Perhaps the most expensive part of your tuning kit, but usually the longest lasting. A good waxing iron can last you forever. Steer clear of conventional clothes iron as the whole in the bottom can retain old wax, so unless you’re meticulously cleaning it after use it can damage your skis or board.
- Wax Scrapers – This is to remove all that excess wax from your base once you have waxed your board. We recommend getting a plastic scrapper as they can be re-sharpened if they blunt and are less likely to take a gouge out of your board, than they’re metal counterpart, if you were to slip whilst scraping.
- Edging Tool/File Guide – This is used to make sure you are maintaining a consistent edge angle on your skis/board. You can get more expensive edge tools that allow you to change the angle or you can get tools that are set at one angle.
- Files – Used to sharpen your edges. There are a wide range of files that will determine how much material is removed from your edge. A traditional indicator is TPCM (teeth per centimeter). The higher this number and the more teeth means it’ll be a finer file and less material will be removed.
- Brush/Cloth – These are to help with the cleaning of your base. A copper or steel wire brush can be used to clean your skis before you work on them and a nylon brush can be used to brush of any excess wax after you’ve waxed your skis/board.
- P-Tex – Used to fill in any scrapes, cuts of gouges in the base of your skis/board.
- Knife – Used to cut away any excess plastic or p-tex when cleaning and repairing your base.
- Lighter – When you are repairing you base. A lighter is used to melt the p-tex on to the base and into the holes.
Repairing
First, when you’re looking at your skis or board, you’ll want to see if there is anything that needs repairing on the base. This usually comes in the form of cuts, scrapes or gouges. Small ones of these tend not to be too important to repair, but the larger ones are something you’ll want to fix quickly. If any cuts or gouges go down to the wooden part of the base it can absorb water, expand and potentially permanently ruin your skis or board.
To repair the base of your skis or board you’ll need to follow these steps:
- Clean your base. Use your copper/steel brush to do this. As with all things when repairing make sure you always work in the direction the ski slides. Always brush/wax/scrape from the tip to the tail.
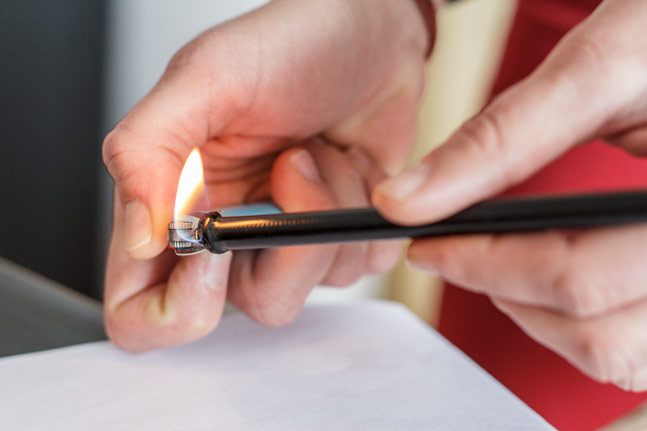
- Fill in your scratch/hole. Grab your p-tex stick and lighter, hold your p-tex stick over the place you’re repairing and melt as much as needed to fill the hole. Do this slowly as to no get excess p-tex on your base. Once you’ve melted it, let the p-tex cool and harden for a couple of minutes.
- Smooth the base. Once the p-tex has hardened use either a knife or a metal scraper to smooth the base of your ski/board. Make sure it’s in line with the rest of the base.
Edging
Edging your skis and boards is to help maintain a solid edge for turning. You’ll need to make sure your edge has a consistently sharp edge from contact point to contact point, so your ski/board grips the snow and allows them to bend into the turning arc.
To affectively tune your ski/board edges. Follow these short steps:
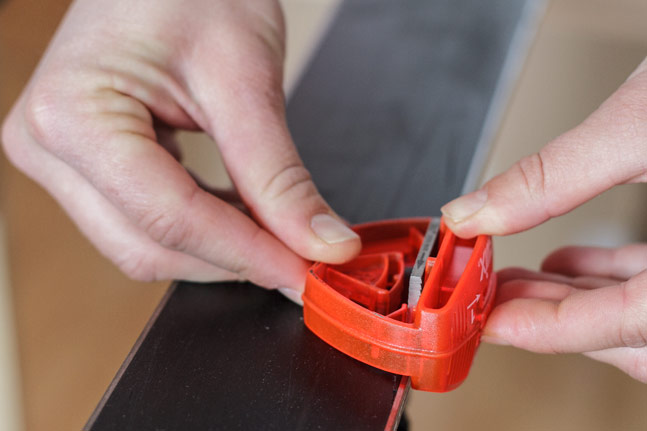
- Grab your edging tool/file guide. A general rule of thumb is to maintain your ski edge at 89-90 degrees.
- Use the correct file. To start off the edging process you’ll want to be using a coarser file (so lower on the TPCM scale). Once you have this in your edging tool, make sure your keeping the file on the edge of your ski and drag it from tip to tail. You may need to do a few passes, but you don’t need to press hard. You’ll want to follow this with finer files.
Waxing
And finally, waxing. Doing this to your skis/board is an extremely important maintenance procedure to keep your skis and snowboarding moving and gliding on the snow. It also helps protect your base. Waxing seems like a daunting task, but it is actuality extremely simple.
- Set the scene. Make sure you place your skis/board on a sturdy, flat surface. Make sure there are no bindings or brakes in the way. You can use an elastic band to hold your brakes up from your edge.
- Make sure it’s clean. Clean the base of your skis/board before starting to wax. Use your copper/steel brush and a cloth to get rid of any dirt, water or debris from your base.
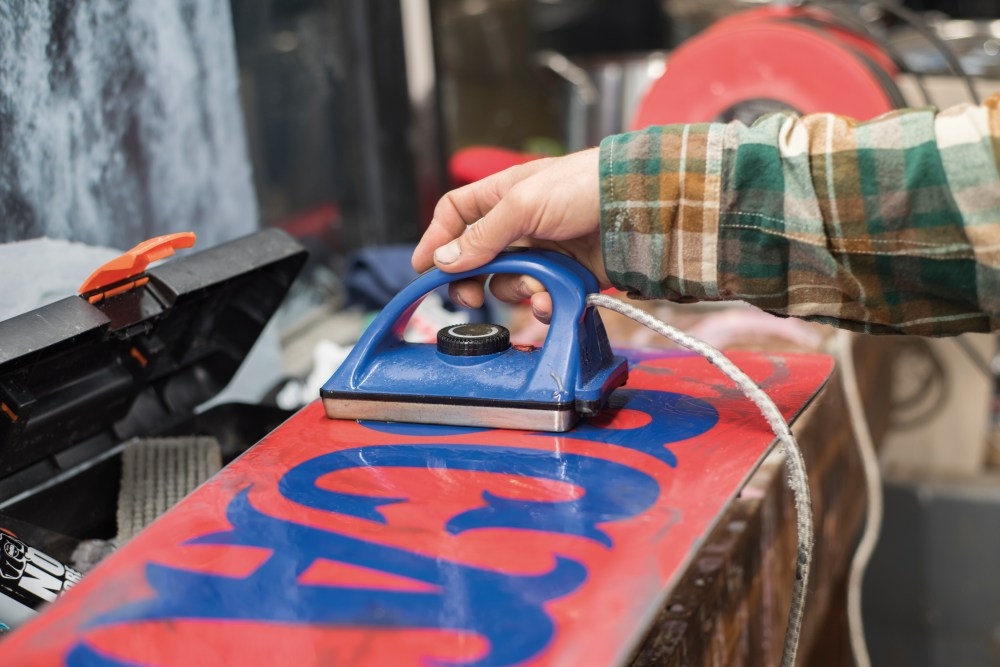
- Grab your waxing iron and wax. There are recommended temperatures to use for each type of wax. Check the box or packaging or your wax to find out what temperature is best for your iron to be at.
- Drip drip. Melt your wax along the base of your skis/board. Even drip it all along the base by gently touching the wax to your hot iron
- Spread evenly. Once you’ve covered the base with wax droplets, press the iron to your base and slowly and evenly spread the wax all over the base of your skis/board. Make sure you are not stopping the iron in the same place for too long otherwise you can damage the base.
- Let it cool. Once you’ve completely covered the base of your skis/board with wax, let it cool down. It’s recommended that you leave the wax on your base for at least an hour for the best results.
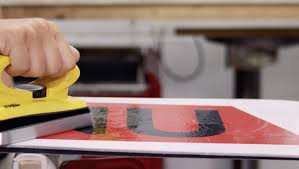
- Scrape away. Once the wax has fully cooled and harden it’s time to scrape away all that excess wax. Grab a sharp, plastic wax scraper and get to work from the tip to the tail of your skis/board.
- Final finish. Once you’re done scraping, with your nylon brush, vigorously brush from tip to tail of your ski/board to get that final bit of excess wax away and give your wax job an excellent finish.

Conclusion
And that’s it for the basic. There is obviously a lot more detail you can go into when talking about maintaining your skis and boards to the highest standard, but it’s best to explore those options once you have the basics nailed down. The steps above will allow you to keep your skis/boards in great and consistent condition for your SnowSkool courses or your seasons working as an instructor!
If you want to put these tips to the test on one of our Ski or Snowboard Instructor courses either visit www.snowskool.com or contact [email protected]